Charcoal Weber Kettle and Temperatures
- Richard Hooper
- Apr 30, 2021
- 3 min read
Grilling on a charcoal Weber Kettle is quite a bit different to grilling on an “open” grill.
The secret is the lid. By keeping the lid on the grill, you in effect have an oven which cooks from above and below.
The best feature of the Weber grill is the ability to have multiple cooking zones, each providing a different option for your grilling.
Using the charcoal baskets, or just pouring the charcoal out of your chimney starter into a different portion of the charcoal grid allows you to setup indirect and direct grilling zones.
This is an absolute game changer in my opinion.
I use indirect grilling a lot, by placing the coals off to one side, and then placing whatever you are cooking on the opposite side. This takes away the direct heat below the food, and you use the convection of the heat trapped by the lid to cook the food on the opposite side of the coals. You can then allow the cook to happen slowly, which is especially useful when grilling a pork shoulder or brisket that needs a very long and slow cook.
The other option is using the charcoal baskets on either side of the Kettle, and your rotisserie attachment above that. The chicken or roasts then sit in the middle portion , cooking only via indirect heat whilst constantly turning and roasting from either side of the grill.
Choice of the correct fuel is also very important. Lump charcoal is great for high heat, but does not last as long as a briquette. Use the correct fuel for your cook. Lump charcoal is awesome for pizza and steaks, but not great for those longer cooks. Beiquettes are aweosme for the logn cooks, and after testing multiple brands, I've found the Weber Briquettes tend to last long and are cleaner.
There seems to be two sides of the lid on or lid off groups. The old saying “If you’re looking, you’re not cooking” is one that I standby. I keep the lid closed 99% of the time, and I believe Weber themselves push this advice. I understand there are times when the lid should be off to push temps higher for direct cooking and quick turning, but I seldom use this approach. The only time is use this is for a Reverse Sear, where the steak is cooked indirect until the desired internal temperature is reached, and then a final direct sear is done on the steak before serving.
As a test, I plugged in the iGrill 2 thermometer and watched the temperatures. Once I reached my target temp, I opened the grill lid, and noted the massive drop off in temperatures. Then put the lid back on and watched the time for the temperatures to return to my desired range. The amount of heat you lose is astronomical. See the temp charts below and you’ll understand how much this can impact your cooking.

The next piece of the puzzle is understanding how to adjust the temperatures of the grill. This takes a bit of practice if you’ve never used a charcoal grill before.
My recommendation for people new to the charcoal Weber Kettle is to keep the Top Vent open fully, and then adjust the temp using only the lower vents.
I use a Weber Master Touch Kettle, and the adjustment of the P-Vents is great. You can do fairly fine adjustments. I made a few markings on the vent handle section at the bottom of the Kettle, and marked off ¼, ½, ¾ and Fully open with a Sharpie. This gives me an idea at a glance of where the vents are without opening the lid (see above about losing heat).
Fully open gives most amount of heat and great for direct grilling (and also when you’re starting your chimney starter with the new coals). I run mine predominantly at ¼ open with top vent fully open. I get a constant and stable temp of around 150 degrees Celsius and will sit there for 3 hours without an issue. The temp can be brought down further by closing the top vent, and closing the bottom vent to just a slight crack.
REMEMBER: Once you make a change to either of the vents, you must wait at least 10 to 15 minutes and then check the temperature again, as it’s not as instantaneous as gas grill.
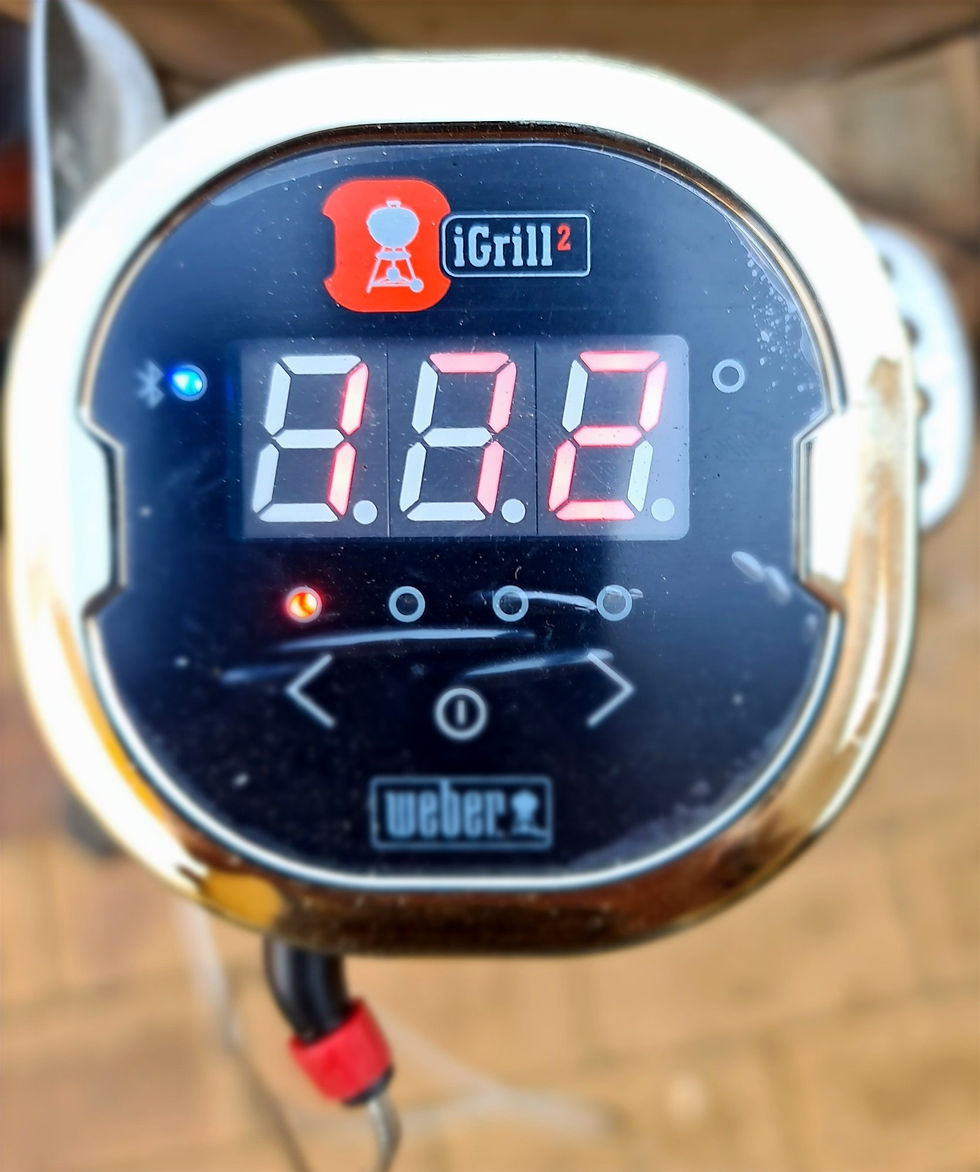
To make things really easy, invest in a probe thermometer like the Weber iGrill2. This takes the guesswork out of the whole process and will make your grilling much more enjoyable and less stressful; and will link to your phone via Bluetooth, allowing you to chill with a beer while monitoring the grill from afar.
Comentarios